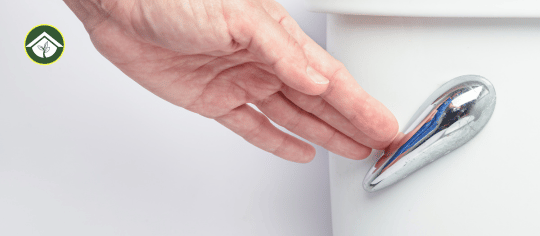
Your toilet bowl flush handle might seem like a small, simple part of your bathroom, but it plays a big role in keeping everything running smoothly. If your handle is loose, hard to push, or constantly sticking, you know how frustrating it can be.
Imagine never having to deal with a weak flush or a handle that won’t work when you need it most. You’ll discover everything you need to know about choosing, fixing, and maintaining the perfect toilet bowl flush handle. Keep reading to make your bathroom experience easier and more reliable every day.

Credit: fluidmaster.com
Types Of Flush Handles
Flush handles control the flow of water in a toilet. They come in different types. Each type offers a unique way to flush. Choose based on convenience and water efficiency.
Some flush handles are simple and traditional. Others use new technology for better hygiene and water saving.
Standard Lever Handles
Standard lever handles are the most common type. They use a simple lever that you push down to flush. These handles are easy to use and fix. They work well with most toilets. Their design has stayed the same for decades.
Dual Flush Handles
Dual flush handles offer two flush options. One uses less water for liquid waste. The other uses more water for solid waste. This helps save water and lowers bills. Dual flush handles are eco-friendly and becoming popular. They fit many modern toilets.
Touchless Flush Handles
Touchless flush handles use sensors to flush automatically. Just wave your hand near the sensor. No need to touch the handle. This type improves hygiene by reducing germs. It also adds convenience in busy places. Touchless handles need batteries or power to work.
Common Flush Handle Problems
Flush handles are small but important parts of your toilet. They help start the flushing process. Sometimes, these handles stop working well. These problems can make flushing hard or impossible. Knowing common issues helps fix them quickly. This saves time and money.
Loose Or Wobbly Handle
A loose handle moves too much or feels shaky. It may not push the flushing lever properly. This happens when the mounting nut inside the tank gets loose. Tightening the nut usually stops the wobble. A loose handle can cause incomplete flushes.
Handle Sticking Or Not Returning
A sticky handle stays down after flushing. It does not return to its normal position. Dirt, rust, or water buildup can cause this. The handle may need cleaning or replacing. A sticky handle can waste water and cause tank issues.
Flushing Mechanism Not Engaging
Sometimes, pressing the handle does not start the flush. The chain or lift wire inside may be broken or disconnected. The handle moves but the flapper does not lift. This stops water from flowing out of the tank. Fixing or adjusting the chain often solves this problem.
Tools Needed For Repair
Fixing a toilet bowl flush handle requires some simple tools. These tools help make the repair quick and easy. Knowing what to have ready saves time and effort.
Gathering the right tools ensures the job goes smoothly. It avoids frustration and repeated trips to the store. Below are the key tools and parts needed for the repair.
Basic Hand Tools
A flathead screwdriver is essential for loosening screws. A pair of pliers helps grip and twist small parts. An adjustable wrench may be needed to loosen nuts. Keep a clean cloth handy to wipe any water spills. These tools cover most toilet flush handle repairs.
Replacement Parts
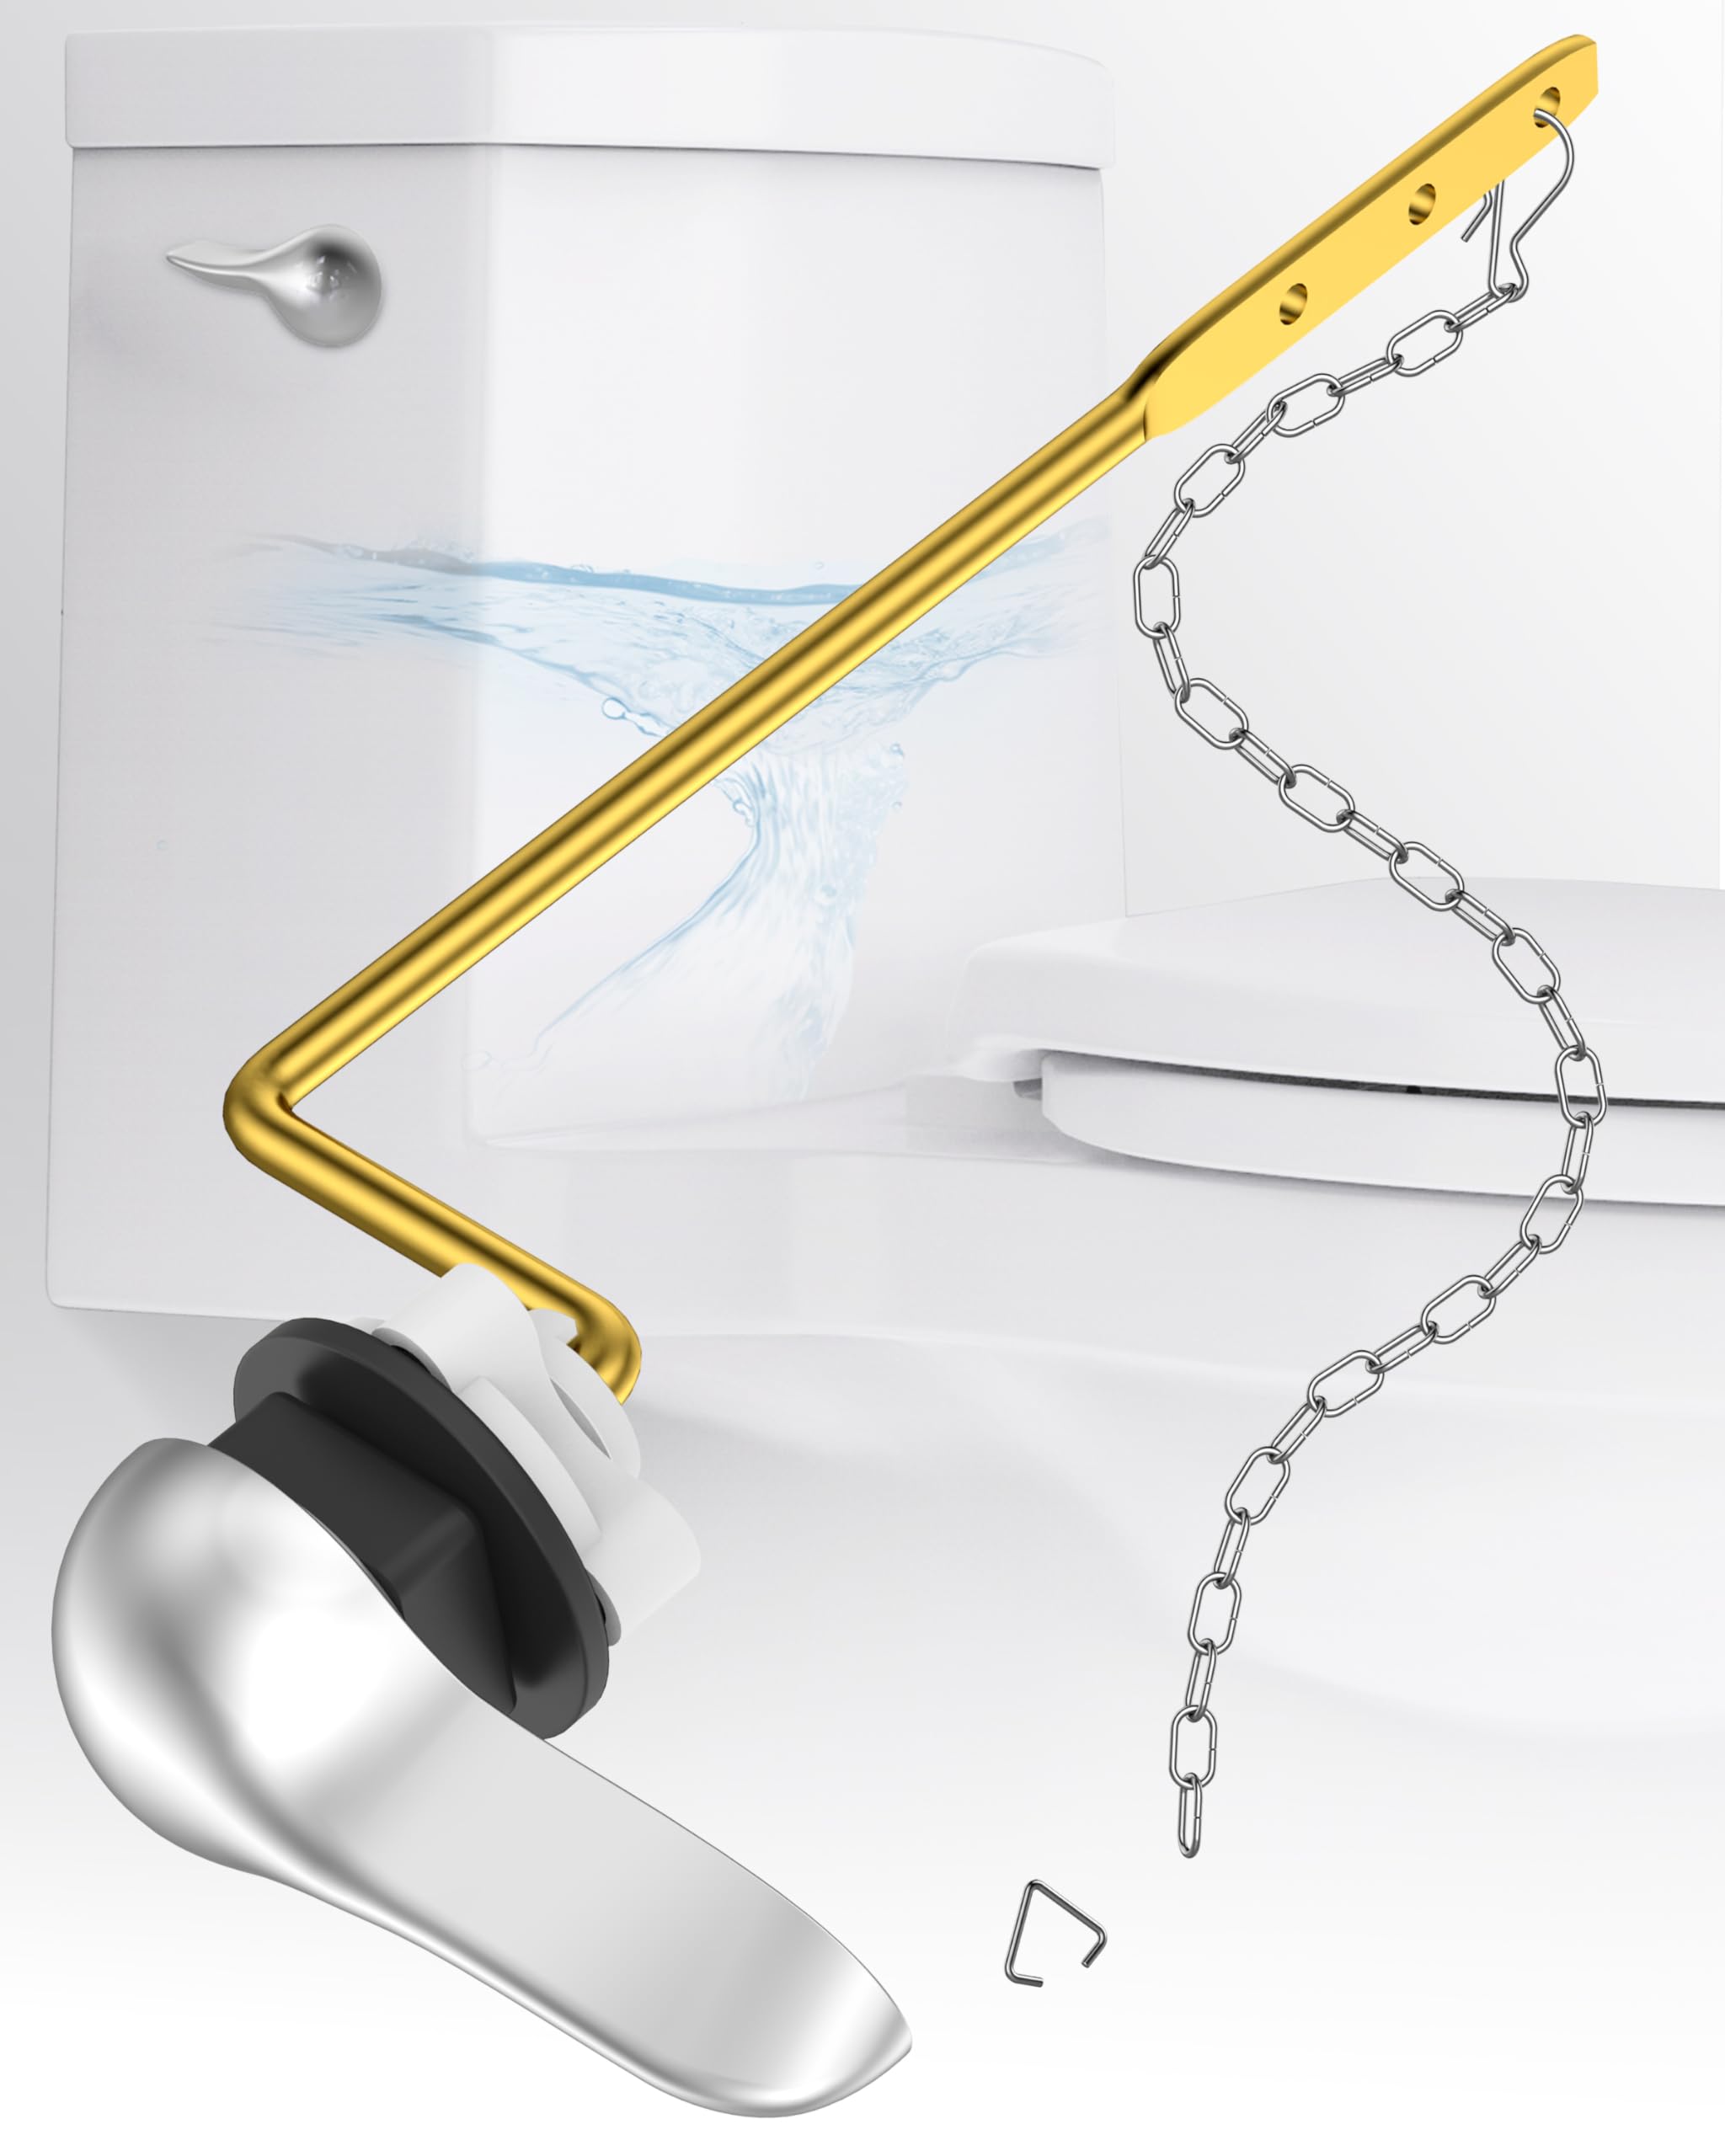
Get a new flush handle that fits your toilet model. Replacement handles often come with mounting hardware. A new chain or lift wire might be necessary. Check that all parts match your toilet’s setup. Having the correct parts avoids extra trips to buy more.
Safety Precautions
Turn off the water supply before starting the repair. Flush the toilet to empty the tank. Wear gloves to protect your hands from dirt and germs. Use tools carefully to avoid scratches or damage. Keep the work area dry to prevent slips or falls.
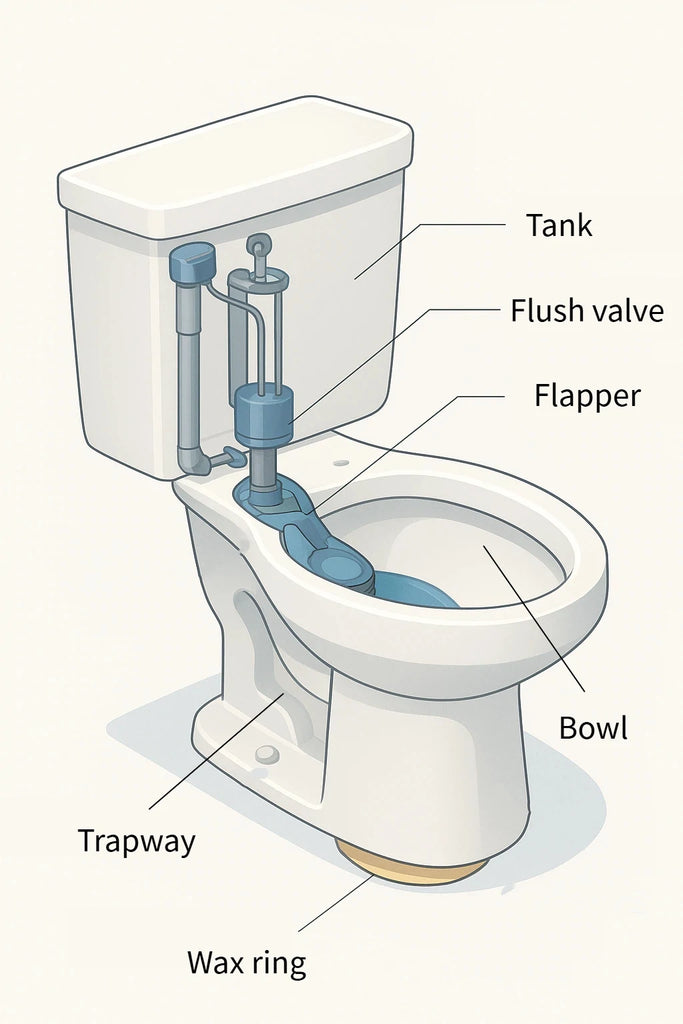
Credit: horow.com
Step-by-step Flush Handle Repair
Fixing a toilet bowl flush handle can save time and money. The process is simple and does not need special tools. Follow these clear steps for a quick repair. This guide helps you replace or adjust the flush handle with ease.
Shutting Off Water Supply
First, locate the water valve near the toilet base. Turn the valve clockwise to stop water flow. This prevents leaks during the repair. Flush the toilet to empty the tank. The tank should be dry before you start work.
Removing The Old Handle
Look inside the tank for a small plastic nut holding the handle. Turn the nut counterclockwise to loosen it. Remove the handle from the tank’s outside. Carefully detach the chain linked to the flush valve.
Adjusting The Chain Length
Check the chain that connects the handle to the flush valve. The chain should have a little slack but not too loose. Adjust the length by moving the chain hook. Proper chain length ensures smooth flushing action.
Reattaching The Handle
Insert the new or fixed handle through the hole in the tank. Secure it by tightening the plastic nut clockwise. Reconnect the chain to the flush lever. Test the handle by flushing to confirm it works well.
Replacing The Flush Handle
Replacing a toilet bowl flush handle is a simple task that anyone can do. It does not need a plumber or special tools. A new handle can improve your toilet’s look and function. This guide helps you replace the flush handle step by step.
Choosing The Right Replacement
Select a handle that fits your toilet model. Check the handle length and style. Most handles come in chrome, brass, or plastic. Match the finish to your bathroom decor. Make sure the handle is durable and rust-resistant.
Removing The Old Handle
Turn off the water supply to the toilet. Flush the toilet to empty the tank. Look inside the tank to find the handle’s nut. Use a wrench or pliers to loosen the nut. Turn it counterclockwise until it comes off. Gently pull the handle out from the tank.
Installing The New Handle
Insert the new handle into the hole on the tank. Secure it by tightening the nut on the inside. Turn the nut clockwise but do not overtighten. Attach the lift chain to the new handle’s arm. Adjust the chain length so it moves freely.
Testing The New Handle
Turn the water supply back on. Let the tank fill completely. Press the new handle down to flush. Watch the chain and flapper to ensure smooth action. Make small adjustments to the chain if needed. Confirm the handle returns to its resting position.
Credit: www.amazon.com
Maintenance Tips For Flush Handles
Flush handles are essential for a smooth toilet operation. Keeping them in good condition avoids problems like sticking or leaking. Regular maintenance helps your flush handle last longer and work better.
Regular Cleaning
Clean the flush handle often to remove dirt and germs. Use a soft cloth and mild soap. Avoid harsh chemicals that can damage the finish. Wipe the handle dry after cleaning. This keeps it shiny and working well.
Checking For Wear And Tear
Look at the flush handle closely for signs of damage. Check for cracks, loose parts, or corrosion. Test if the handle moves smoothly without resistance. Replace worn parts to prevent breakage and leaks. Early fixes save money and trouble.
Lubricating Moving Parts
Apply a small amount of lubricant to the moving parts. Use a silicone-based lubricant safe for plumbing. This reduces friction and noise. Avoid oil-based lubricants that can attract dirt. Lubrication keeps the handle working smoothly for a long time.
When To Call A Professional
Knowing when to call a professional for toilet bowl flush handle problems can save time and money. Some issues are simple to fix at home. Others need expert care to prevent bigger troubles. Recognizing the signs helps you act fast. This keeps your bathroom working well.
Persistent Flushing Issues
If your toilet keeps flushing by itself or won’t stop running, it signals a bigger problem. These issues often mean something inside the tank is broken or worn out. Trying to fix it without the right tools may cause leaks or waste water. A plumber can diagnose and fix the root cause quickly.
Complex Internal Tank Problems
The parts inside the tank can be tricky. Broken flappers, faulty fill valves, or damaged flush handles need careful handling. Sometimes, parts are hard to reach or need special tools. Professionals know how to repair or replace these parts without causing damage to your toilet.
Avoiding Water Damage
Ignoring flush handle issues can lead to leaks or flooding. Water damage can harm your floors and walls. It can also increase your water bill. Calling a professional early helps prevent costly repairs and keeps your home safe and dry.
Frequently Asked Questions
What Causes A Toilet Flush Handle To Stop Working?
A toilet flush handle can stop working due to a broken or loose chain, worn-out handle, or internal lever damage. Regular inspection helps identify these issues early. Replacing faulty parts usually restores proper flushing function quickly and easily.
How Do I Replace A Toilet Bowl Flush Handle?
To replace the flush handle, turn off the water supply, remove the tank lid, and disconnect the old handle. Install the new handle by attaching it to the tank and reconnecting the chain. Test the flush to ensure it works smoothly.
Can A Flush Handle Affect Toilet Flushing Power?
Yes, a damaged or loose flush handle can reduce flushing power. It may fail to lift the flapper properly, causing incomplete water release. Fixing or replacing the handle ensures a full and efficient flush every time.
Are All Toilet Flush Handles Universal In Size?
No, flush handles vary in size and design depending on the toilet model and brand. Checking the handle type and measurements before purchasing ensures compatibility and proper installation for optimal toilet performance.
Conclusion
Choosing the right toilet bowl flush handle matters for daily use. It affects how smoothly your toilet works. A good handle saves water and avoids leaks. Simple fixes can improve your bathroom’s function. Remember to pick a handle that fits your toilet model.
Small changes bring big comfort and ease. Keep your bathroom working well with the right flush handle. It’s a small part that makes a big difference.


Leave a Reply