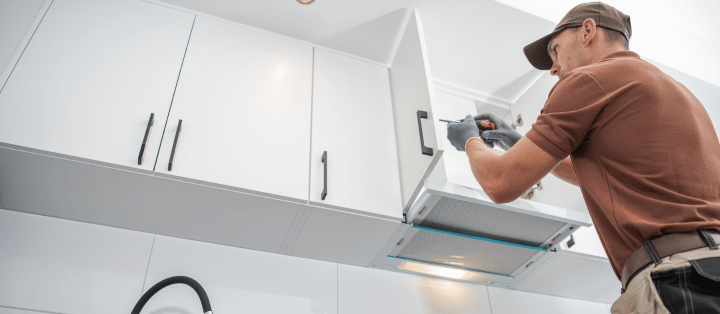
During the home and kitchen improvement, we always focus on painting the cabinet, remodeling the sink, adding extra storage space, etc. Sadly, we ignore one part that will improve the heating efficiency in your kitchen to reduce energy bills. Yes, I’m talking about insulating your kitchen cabinets to trap inside heat during winter to keep the kitchen interior warm and cozy.
And with it, you must be keen to know how to insulate under kitchen cabinets to reduce the energy cost by 2% to 5%. Also, it will help you keep everything in the cabinet safely, as the insulated kitchen cabinet will be free from moisture, cracks, and pest attacks.
Thankfully, you can insulate yours under the kitchen cabinet with spray foam, injection foam, and canned foam. It will improve the efficiency and look of the kitchen cabinet for sure. So, aren’t you excited to see the ways to insulate kitchen cabinets?
Can You Insulate Kitchen Cabinets?
Many people are confused about whether they can insulate their kitchen cabinets. Also, it is too costly and not practical either. Well, these are misconceptions about insulating kitchen cabinets.
Yes, you can insulate kitchen cabinets. Of course, the primary purpose of insulation is often associated with walls and attics. Yet, you can protect under and behind kitchen cabinets to reduce heat loss, improve energy efficiency, and enhance comfort in your kitchen space.
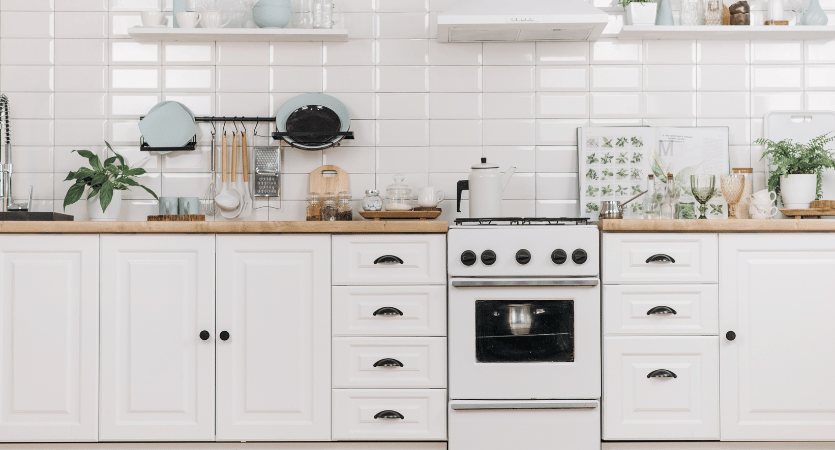
Kitchen cabinets are often placed against external walls. Hence, the walls and underneath it can become cold during winter months. This cold can seep into your cabinets without proper insulation and affect the indoor temperature.
Thus, you should insulate these areas to create a barrier to the indoor and outdoor heat. It will prevent temperature fluctuations and reduce energy consumption.
Moreover, insulating under the kitchen cabinet is relatively inexpensive, too. You can get 1 square foot of insulation foam for around $5 to $10. Since you will only need two to five square feet of insulation foam, the cost is more than affordable to insulate kitchen cabinet walls, underneath it, and all parts.
Why Do You Need to Insulate Under and Behind Kitchen Cabinets?
Insulation brings many benefits, from improved comfort to better energy efficiency in your kitchen space. It saves energy bills and also helps regulate the temperature. So, your stay in the kitchen will be comfier and enjoyable even during the coldest months of the year.
- Energy Savings: You can maintain a stable indoor temperature with proper insulation. It will reduce the need for your heating or cooling systems to work harder. Naturally, it translates to lower energy bills.
- Temperature Regulation: Insulation acts as a barrier against outdoor temperature extremes. It further ensures your kitchen remains comfortable year-round.
- Condensation Prevention: Proper insulation will prevent and reduce condensation and moisture buildup. We know that it can lead to mold growth and deterioration of cabinet materials. So, with proper insulation, you will increase the longevity of the kitchen cabinet.
- Noise Reduction: Insulation can absorb sound vibrations. Hence, it will reduce noise from appliances, utensils, and general kitchen activities to offer you a quieter cooking facility so you can concentrate better on your work.
How to Insulate Under Kitchen Cabinets
You can insulate kitchen cabinets even with a blanket on the floor. However, for the best insulation results, you should use injection, canned, and spray foam.
Method 1: Insulating Using Injection Foam
You can apply the injection foam right between the kitchen cabinet wall and siding to seal it. It will trap the air and temperature for a cozier kitchen environment.
Identify Gaps and Openings
First, you must carefully inspect the underside of your kitchen cabinets to identify gaps and openings. These gaps might be between the cabinets and the floor, walls, or neighboring cabinets. Also, check for the type of siding you have in the cupboard.
Drill Hole and remove the sidings
Once you’ve identified the gaps, find the screws and nuts for the siding on the wall. After prying off the siding, drill small holes in strategic locations. It will allow access to the injection foam.
You should drill the holes typically drilled on the cabinet kick-plate or discrete areas. Hence, the holes won’t be highly visible and maintain better cabinet aesthetics after foam insulation. Also, ensure that the sidings are in suitable condition, or you may need to replace them after the foam insulation.
Inject Polyurethane Foam:
Now, it’s time to apply the injection foam. For this:
- Use the injection foam kit to insert the nozzle into the drilled holes
- Carefully inject the polyurethane foam over the cabinet floor and wall
- The foam starts as a liquid and expands to fill the gaps and cavities, creating an airtight seal.
The foam expands within the gaps. So it will effectively insulate and seal the area. You must allow the foam to cure according to the manufacturer’s instructions. This usually takes a few hours.
Trim Excess Foam and seal gaps:
You need to wait so that the foam cures fully. Then, use a utility knife to carefully trim any excess foam that has expanded beyond the gaps. It ensures a clean finish for the kitchen cabinet.
Also, you might use matching putty or paint to conceal the drilled holes. Applying a matching kitchen cabinet paint or putty will blend seamlessly with the cabinet’s appearance. As a result, you will enjoy better aesthetics with the insulation. Also, remember to remount the sidings.
Pros:
- Excellent insulation due to the foam’s expansion and sealing properties.
- Effective for irregular and hard-to-reach spaces.
- It provides an airtight barrier, minimizing heat transfer and energy loss.
Cons:
- Requires careful drilling and precise injection.
- Polyurethane foam can be messy and sticky during application.
Method 2: Insulating with Spray Foam
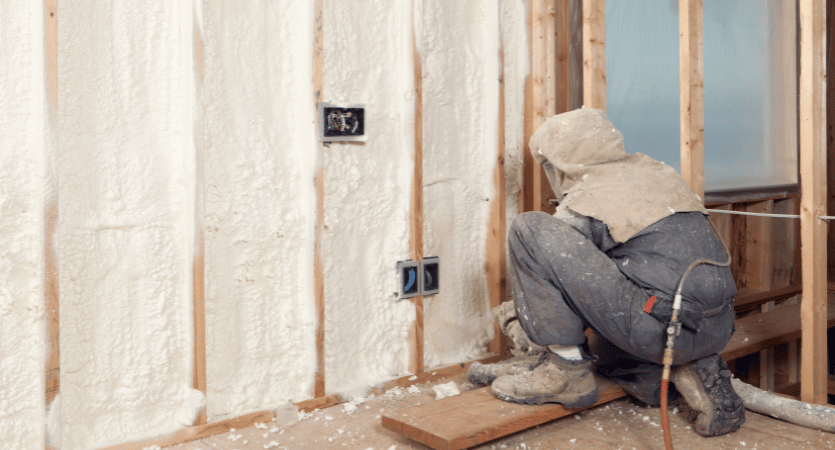
Insulating kitchen cabinets with polyurethane foam can be slightly expensive. Hence, you may consider using spray foam as an affordable alternative. Also, spray foam is easily gettable from any hardware store, and its application is easy and mess-free.
- First, clean the underside of the cabinets. It is crucial to ensure proper adhesion of the spray foam. Moreover, apply painter’s tape along adjacent surfaces to prevent overspray.
- Hold the can at a slight angle for proper spray. Then, begin applying the spray foam insulation to the gaps.
- You should start with a thin layer and allow it to expand. Also, be cautious not to overspray, as excess foam can be difficult to remove once cured.
- The foam will expand and solidify as it cures. At this point, you need to follow the manufacturer’s instructions for the curing time. The spray foam will dry and heal within a couple of hours, but we recommend you rest it for 4-6 hours, at least.
- Once the foam is fully cured, use a utility knife to trim the excess foam. You will see that the foam has protruded beyond the gaps. So, trim them off to enjoy a neat appearance.
- Finally, gently remove the painter’s tape from the surrounding surfaces.
Pros:
- Suitable for DIY enthusiasts with basic skills.
- Provides decent coverage for smaller gaps and crevices.
- It can be used for quick insulation projects.
Cons:
- Overspray can be challenging to control
- It might result in a messy application.
- It might be less effective for larger gaps or irregular spaces.
Method 3: Seal Gaps with Canned Foam
You may also apply canned foam to seal the gaps. It effectively creates an airtight seal to stop heat from going outdoors and maintain indoor temperature for the kitchen cabinet.
Clean and prepare the surface and canned foam:
To begin with, you must ensure the area is clean and dry before applying the foam. Dust and moisture can hinder adhesion, and the foam will not stick to the surface.
Also, using canned foam on dirty cracks and holes in the cabinet will reduce their longevity and performance.
Next, you need to shake the canned foam vigorously. It will mix the components inside the foamed can for better adhesion and insulation capacity.
Attach Tube and Apply Foam:
Afterward, carefully attach the provided plastic tube to the nozzle of the foam can. With the nozzle, you can apply the foam with more precision. Then, insert the tube into the gaps and use the foam. Allow it to expand and fill the voids.
The foam will expand as it cures, so avoid overfilling the gaps. Instead, you should leave a slight gap so that the foam can fill it up. Or, it can cause cracks in the wooden kitchen cabinets. Lastly, you should cut off excessive foam with a utility knife.
Pros:
- Simple and affordable solution for smaller gaps.
- Widely available at hardware stores.
- It can be used for both small and moderate gaps.
Cons:
- It might provide a different level of insulation than other methods for larger gaps.
- The foam’s expansion might be challenging to control, potentially leading to a messy application.
Frequently Asked Questions:
- Can you insulate only the outer walls of the cabinets?
Yes, you can insulate the outer walls of our kitchen cabinet, too. However, it is crucial to focus on all sides, including under and behind cabinets. It will provide more comprehensive insulation and better energy efficiency.
- Is professional installation necessary for injection foam insulation?
Injection foam insulation might require professional installation. It is especially for precise and effective application. However, experienced DIYers can try this method carefully following our suggestions above.
- Can you use regular foam sealant instead of canned foam for gaps?
Regular foam sealants might provide a different level of insulation and durability than canned foam for this purpose. It’s recommended to use the appropriate product for better results.
Conclusion:
Insulating under kitchen cabinets is a valuable home and kitchen improvement. It can enhance energy efficiency, temperature control, and overall comfort in your kitchen.
You can effectively seal gaps using our recommended methods, such as injection, spray, or canned foam. It will prevent unwanted temperature fluctuations. Also, consider your specific needs, budget, and skill level for choosing the suitable insulation material.
Leave a Reply