Thinking about upgrading your bathroom with an electric bidet toilet seat but unsure where to start? You’re not alone.
Installing one might seem tricky, but with the right steps, you can do it yourself quickly and confidently. Imagine the comfort of a warm wash and heated seat every time you use the bathroom—right in your own home. This guide will walk you through the simple installation process, help you avoid common mistakes, and ensure your new bidet seat works perfectly from day one.
Keep reading to discover how easy it is to bring this modern comfort to your bathroom.
Choosing The Right Bidet Seat
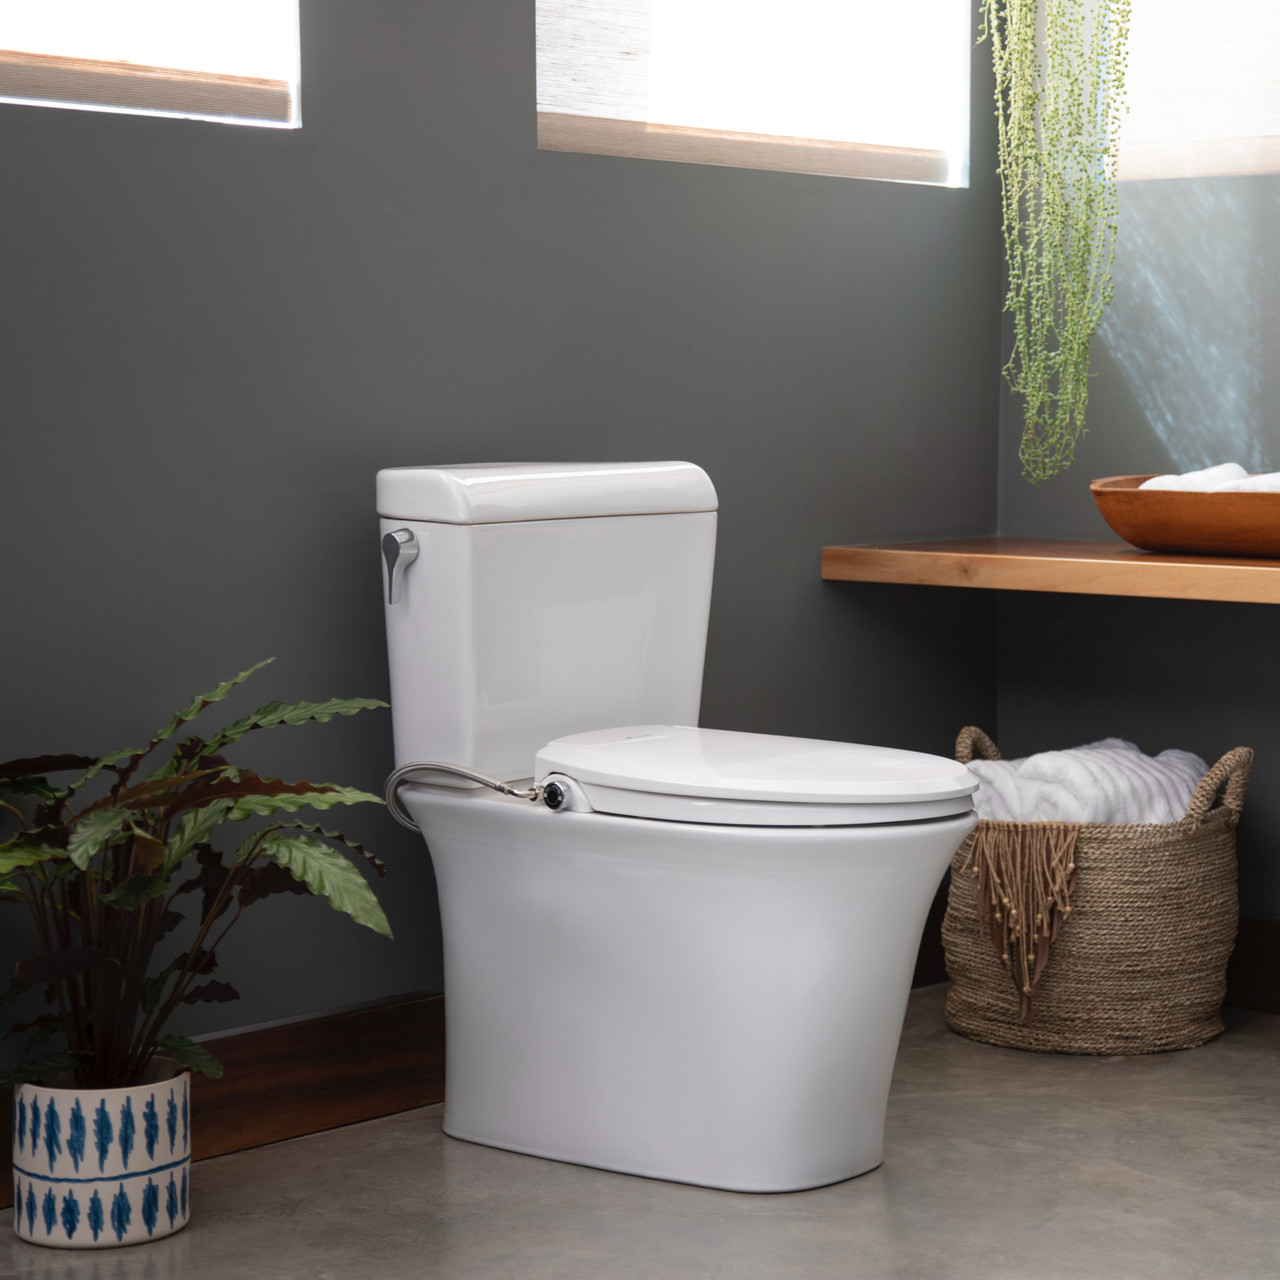
Choosing the right bidet seat is important for comfort and functionality. The perfect seat fits your toilet and meets your needs. Consider size, features, and power source before buying. This guide helps you understand the options and make a smart choice.
Types Of Bidet Seats
There are several types of bidet seats. Some offer simple washing functions. Others include advanced features like warm water and air drying. Choose between basic models and those with added comfort. Match the seat to your toilet shape and size for proper fit.
Electric Vs. Non-electric Models
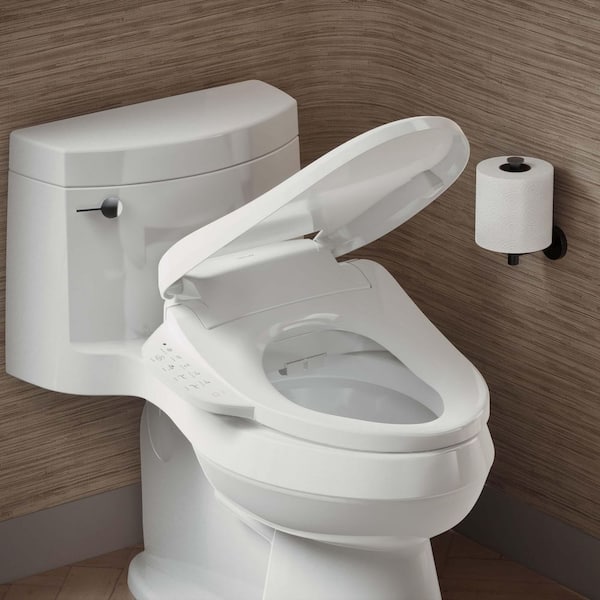
Electric bidet seats have heated water and air dryers. They offer more comfort but need a power outlet nearby. Non-electric seats work with cold water only. They are easier to install and cost less. Think about your bathroom setup and budget before deciding.
Features To Consider
Look for adjustable water temperature and pressure. A heated seat adds comfort, especially in cold weather. Some models have a night light for convenience. Remote controls or side panels make operation easy. Choose features that improve your daily experience without complicating use.
Credit: www.brondell.com
Preparing For Installation
Preparing for the installation of an electric bidet toilet seat is the first important step. This preparation ensures a smooth and safe setup. Taking time to gather tools, check the water supply, and assess power sources saves time later. Proper preparation also helps avoid damage or injury during installation.
Tools And Materials Needed
Gather all necessary tools before starting. You will need a screwdriver, adjustable wrench, and Teflon tape. Have the bidet seat, mounting plate, and water supply hose ready. Keep a towel nearby for any water spills. Check the product manual for any extra tools required.
Checking Water Supply And Power Outlet
Locate the water shut-off valve near the toilet. Make sure it works and is easy to access. The water supply must be clean and free of leaks. Next, find a power outlet within reach of the bidet’s cord. The outlet should be GFCI protected for safety. Avoid using extension cords or outlets near water.
Safety Precautions
Turn off the water supply before removing the old seat. Unplug the power outlet to prevent electric shock. Avoid wetting the power cord or outlet during installation. Use tools carefully to prevent damage to the toilet or bidet. Read all safety instructions in the user manual before beginning.
Removing The Existing Toilet Seat
Removing the existing toilet seat is the first step for installing an electric bidet seat. This process requires simple tools and a bit of care. It ensures a clean and stable base for the new bidet seat. Follow the steps carefully to avoid damage to your toilet.
Locating Mounting Bolts
Find the bolts that hold the toilet seat in place. They are usually at the back of the seat, near the bowl. Sometimes, they are covered with plastic caps. Gently lift or pry off the caps to see the bolts. Use a flashlight if needed. Knowing the exact location helps in quick removal.
Detaching The Seat Safely
Use a wrench or pliers to loosen the nuts under the toilet bowl. Hold the bolt on top with a screwdriver to keep it from turning. Turn the nut counterclockwise until it is free. Lift the seat and bolts away carefully. Keep the bolts in a safe place if you need them later. Avoid forcing the seat to prevent cracks or scratches.
Installing The Mounting Plate
Installing the mounting plate is a key step in setting up your electric bidet toilet seat. This plate holds the bidet seat firmly in place. Proper installation ensures the seat stays secure and functions correctly. Take your time to position the plate carefully and fasten it securely.
Aligning The Plate
Start by placing the mounting plate on the toilet bowl. Match the holes on the plate with the bolt holes on the toilet. Make sure the plate is centered and straight. Adjust it so the plate fits snugly without gaps. Correct alignment helps the seat sit properly and prevents wobbling.
Securing With Bolts
Next, insert the bolts through the mounting plate and toilet holes. Use washers if included to protect the toilet surface. Tighten the bolts by hand at first to keep the plate in place. Then, use a screwdriver or wrench to firmly secure the bolts. Avoid overtightening to prevent cracking the toilet.
Connecting Water Supply
Connecting the water supply is a key step in installing an electric bidet toilet seat. It ensures the bidet functions properly and delivers water safely. This process involves linking the bidet to your home’s water source without leaks or damage.
Each step requires care and attention to avoid water issues. Follow the instructions clearly to get a secure and efficient connection.
Turning Off The Water Valve
Locate the water valve near your toilet. Turn it clockwise to shut off the water flow. Check by flushing the toilet. The tank should not refill if the valve is fully closed. This step prevents water spills during installation.
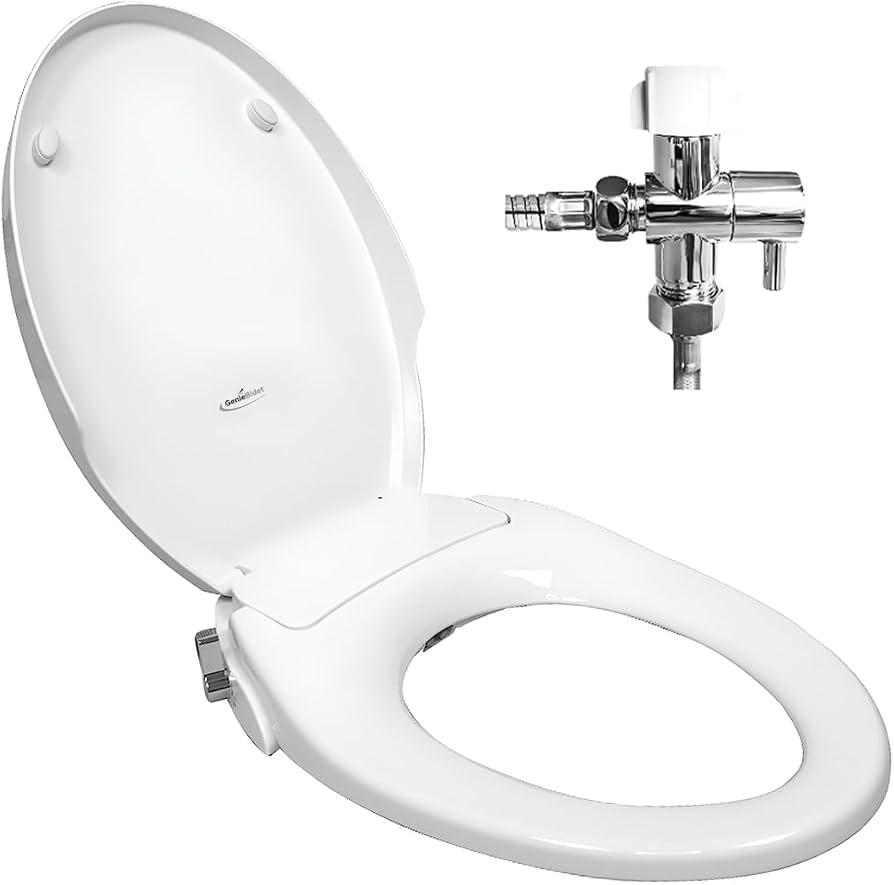
Attaching The T-valve
Disconnect the water hose from the toilet tank. Screw the T-valve onto the tank’s water inlet. Tighten it by hand, then use a wrench for a snug fit. The T-valve splits water between the toilet and bidet seat.
Connecting Bidet Hose
Attach one end of the bidet hose to the T-valve. Connect the other end to the bidet seat’s water inlet. Tighten both ends securely to avoid leaks. Turn the water valve back on slowly. Check for any leaks around connections.
Credit: www.amazon.com
Installing The Bidet Seat
Testing and adjusting your electric bidet toilet seat is essential for a smooth experience. After installation, you need to confirm everything works properly. This step ensures safety and comfort. Follow these simple checks and tweaks to make sure your bidet functions perfectly.
Checking Water Connections For Leaks
Start by inspecting all water connections. Look closely where hoses meet the valves and the bidet. Any sign of moisture or dripping means a leak. Tighten connections gently to avoid damage. Use a dry cloth to wipe and watch for new leaks. Fix leaks immediately to prevent water damage.
Testing Bidet Functions
Turn on the bidet and try its features. Test the wash spray, oscillation, and drying functions. Listen for unusual sounds or weak water flow. Check if the nozzle moves smoothly and sprays correctly. Make sure the heated seat warms up as expected. Confirm the remote or control panel responds well to commands.
Adjusting Water Pressure And Temperature
Adjust the water pressure to a comfortable level. Too strong can be harsh; too weak may not clean well. Set the water temperature to suit your preference. Most bidets allow separate control of warm and cold water. Test and tweak these settings until you feel comfortable. Small changes improve your overall experience.
Credit: www.homedepot.com
Frequently Asked Questions
What Is The Best Bidet For Bariatric Patients?
The best bidet for bariatric patients offers a wide seat, sturdy build, and strong water pressure for comfort and support. Look for models with easy controls and high weight capacity.
Do You Need An Electrician To Install A Bidet?
An electrician is needed only if no GFCI outlet is near your toilet for the bidet’s power plug.
Can I Use A Bidet After Hip Replacement?
Yes, you can use a bidet after hip replacement. It reduces the need to reach and helps keep you clean gently and safely. Many doctors recommend bidets to support recovery and improve hygiene without strain.
Can You Use A Bidet If You Have Hemorrhoids?
Yes, using a bidet with hemorrhoids provides gentle water cleaning, reducing irritation and discomfort compared to toilet paper.
What Tools Do I Need For Electric Bidet Seat Installation?
You need a screwdriver, adjustable wrench, T-valve, and Teflon tape. These tools help secure fittings and connect water lines safely.
How Long Does It Take To Install An Electric Bidet?
Installation usually takes 30 to 60 minutes depending on your experience. Following instructions carefully speeds up the process.
Do I Need A Plumber Or Electrician For Installation?
Most installations can be done DIY if you have basic skills. Call a professional if you lack a GFCI outlet or plumbing knowledge.
Can I Install An Electric Bidet On Any Toilet Type?
Most standard toilets fit electric bidet seats, but check model compatibility. Round and elongated bowls usually work with bidet seats.
How Do I Connect The Water Supply To The Bidet Seat?
Turn off water, disconnect the supply hose, and install the T-valve. Connect hoses from the T-valve to the bidet and toilet.
Is A Gfci Outlet Required For Electric Bidet Seats?
Yes, a GFCI outlet is needed for safety to prevent electrical shock. Use a nearby outlet or have an electrician install one.
Conclusion
Installing an electric bidet toilet seat brings comfort and cleanliness to your bathroom. The process is simple with basic tools and clear steps. Always turn off the water before starting to avoid leaks. Connect the water supply carefully and secure the seat firmly.
Test the bidet functions to ensure everything works well. Enjoy the fresh feeling and improved hygiene every day. Taking a little time to install it yourself saves money and adds value to your home. Clean, fresh, and easy to use—an electric bidet seat is a smart bathroom upgrade.


Leave a Reply